Peter will be covering our classes with Chris while he is still off, so today we looked into animating characters using After Effects. I never really realised that this sort of thing could be done via After Effects, so it was a very interesting lesson! Before starting anything, we were also told about Duik hardware, which is free piece of kit for After Effects used for rigging and animating. I’ll have to look into it more as we progress with our character animating classes.
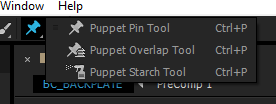
Our goal today was to learn about the puppet tool (which looks like this ![]() ) that has three controls in its menu. We would be going through the actual puppet pin tool, the overlap tool, and the starch tool.
) that has three controls in its menu. We would be going through the actual puppet pin tool, the overlap tool, and the starch tool.
First, we needed to import the backplate and the character we’d be animating – Jed. We would first pin the anchor points for the puppet mesh, which would be at places like the wrists, elbows, shoulders, midriff, knees, etc. We could then use the starch tool to freeze certain locations we don’t want warping while we animate the rest of the character. I moved around the arms, legs, and midriff, but I didn’t want the head warping so I add some starch to that.
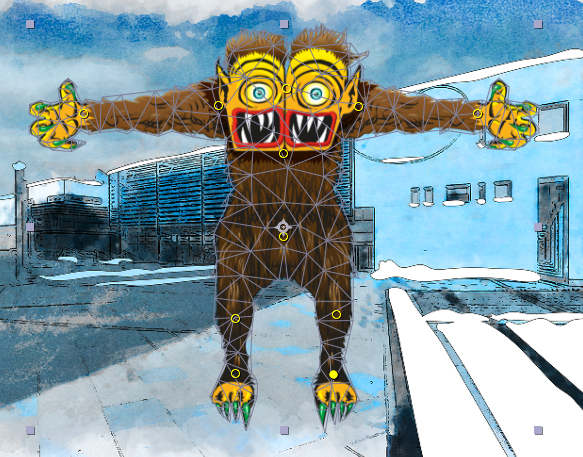
By holding down the Ctrl key and clicking on the control points, we could real-time record any movements we wanted – it shows a yellow outline from its original position and will pick up any changes made, but it’s easy to go into the composition menus for the puppet effect and undo any keys you do along the way.
While I didn’t need to use the overlap tool, it could be useful for telling After Effects which points should take priority over others via layers. For example, if I wanted the hand to appear behind the head instead of the front, I would change the In Front percentage to be lower than the head.
The other thing we needed to keep in mind was that, once the animation was made, it couldn’t be moved around. Therefore, I had to pre-compose just the Jed layer, along with all the puppet keying, and I could then move that around in a new composition. It worked out quite well, actually, because then I could also all the position and scale of Jed to make it seem like it was moving forward along the path. We were also provided with some instructions on how to make a snowfall effect, so I added that before I love using effects and think it adds a lot to the little animation.
Overall, I really liked this exercise. As I’d said, I wasn’t aware of the animation capabilities within After Effects, so it was nice to learn something new. It was also quite simple to use the puppet tool, although I would/could be more careful to make the animation look less rigid/rubbery next time. I think freezing the head made all the difference, but I realised afterwards that I could have moved the knee joints I made to make the legs look less squashed. Still, I’m eager to do this again very soon!

Hello there, just became alert to your blog through Google,
and found that it is truly informative. I am gonna watch out for brussels.
I will appreciate if you continue this in future.
Many people will be benefited from your writing.
Cheers!
LikeLike
Thanks very much, that’s kind of you to say!
Best wishes,
Kelly
LikeLike